This tutorial guides you through the "Register a New Company" workflow.
Preparation
- If the required officer/name list has not been created yet, follow this setup guide first.
- If the target company record has not been created yet, follow this company setup guide first.
Detailed Operations
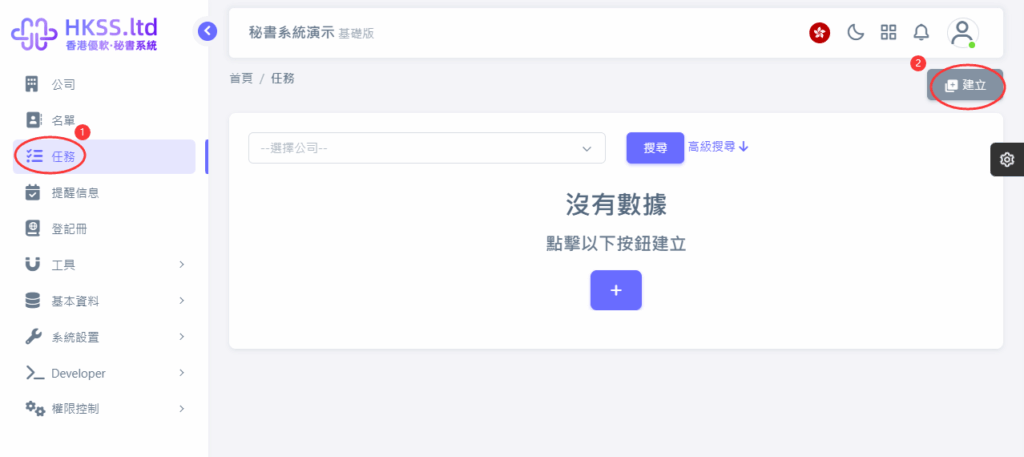
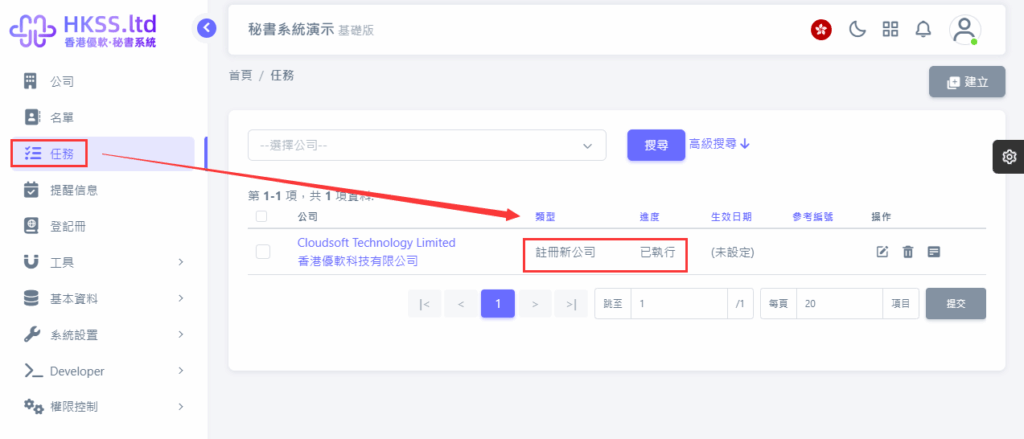
- Click "Tasks" in the left menu.
- Click "Create" in the top-right corner.
- Open the "Task Type" page and select "Register New Company".

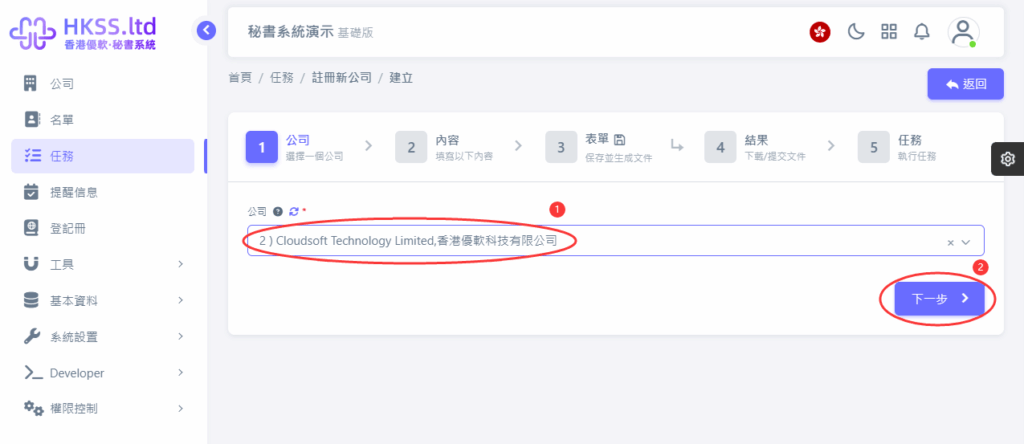
- Select the company to process and click "Next".
- Select the submitter (usually the company secretary; click the question-mark icon for default-setting guidance), fill in other fields as required, and click "Next".

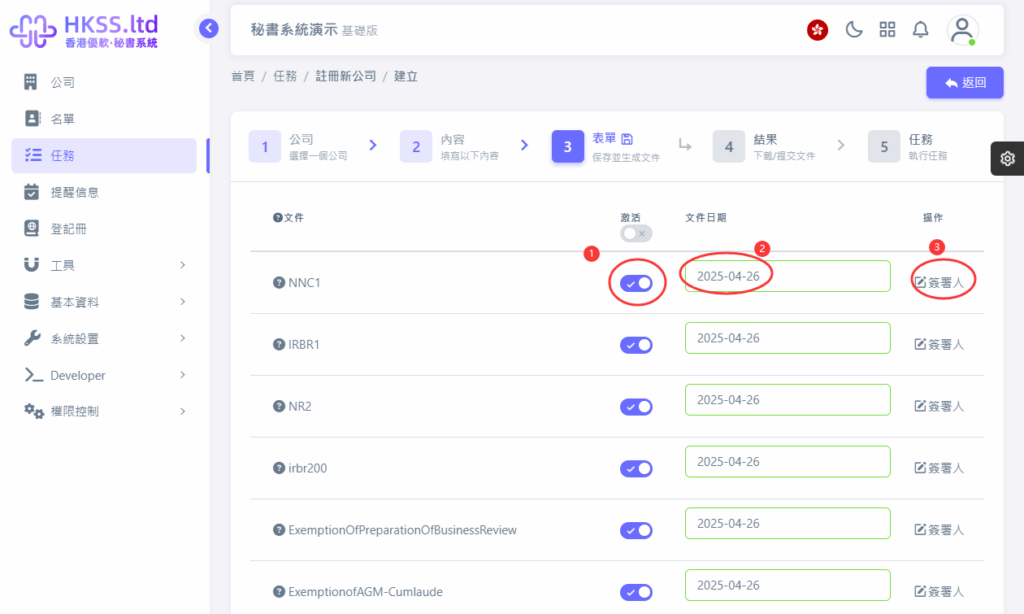
- Select the files you need to export, then click "Save and Generate Files".
Note:
- Not every file is required for every case. Select according to your actual filing scenario.
- Select the required option and continue.
- File date defaults to the company's incorporation date and can be adjusted if needed.
- Signer fields are selectable where supported by each generated form.
- Wait for the system to generate files, then download selected files or all files and choose your submission method.
- Online submission (API): data is transmitted electronically to the Companies Registry system.
- Offline submission (print and mail): download, print, sign where applicable, and post manually.
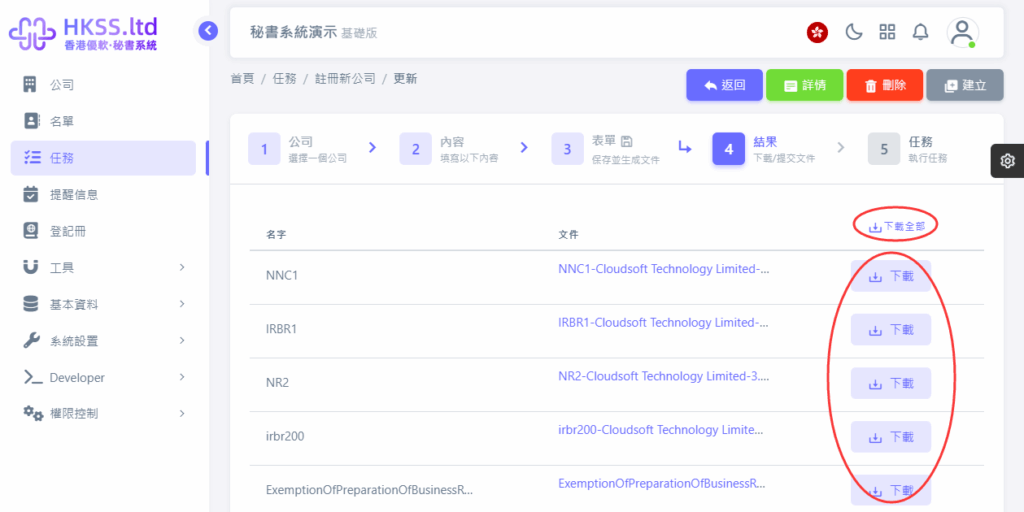
Please follow the on-screen instructions in this section.
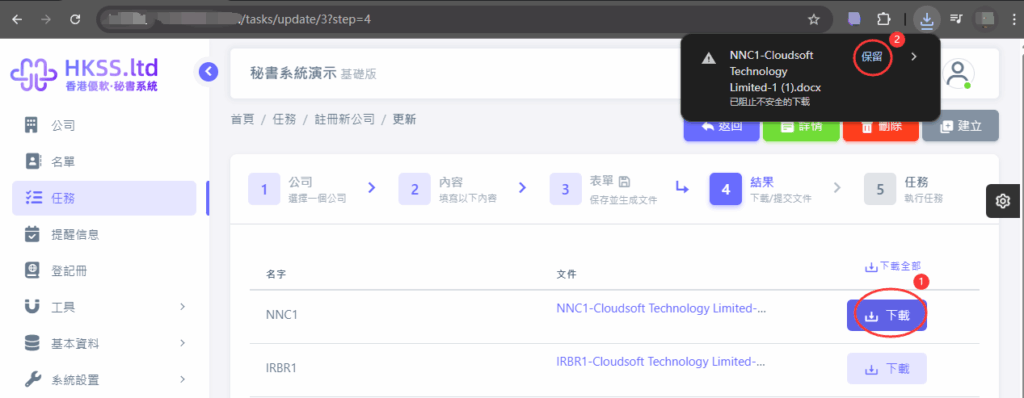
- After choosing a submission method, move to the next step. You may need to wait until the filing status is updated.
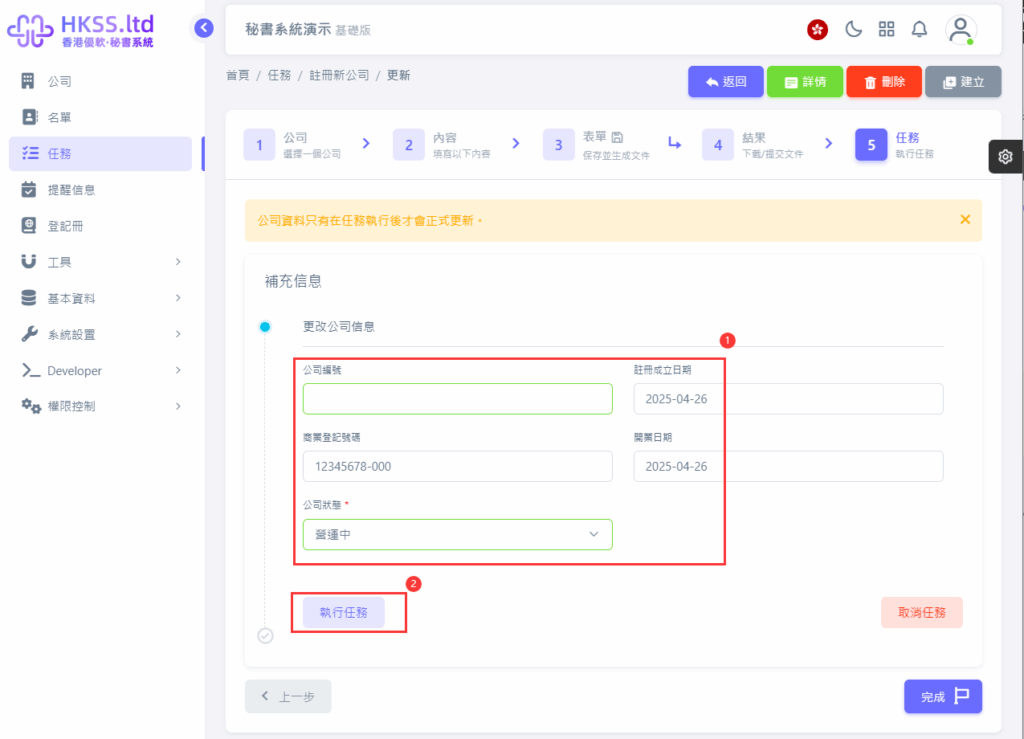
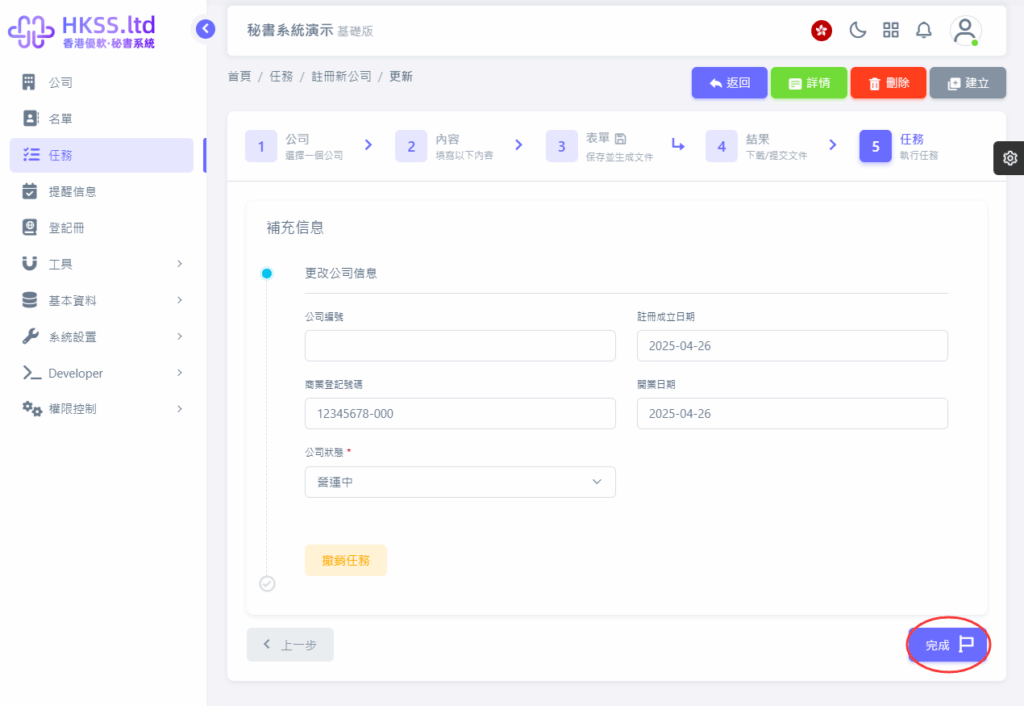
- Fill in the required information according to your case.
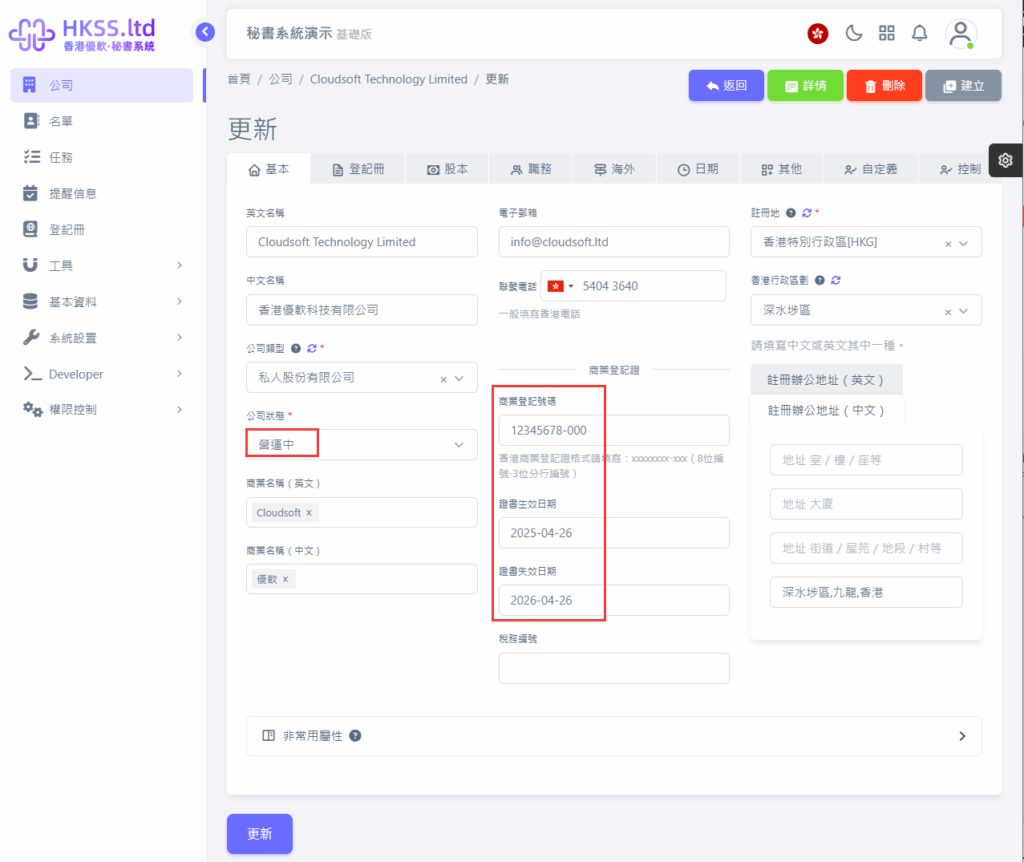
- Set company status to "Operating" where applicable.
- Remember to click "Execute Task". Normally, you will see the "Execution successful" prompt.
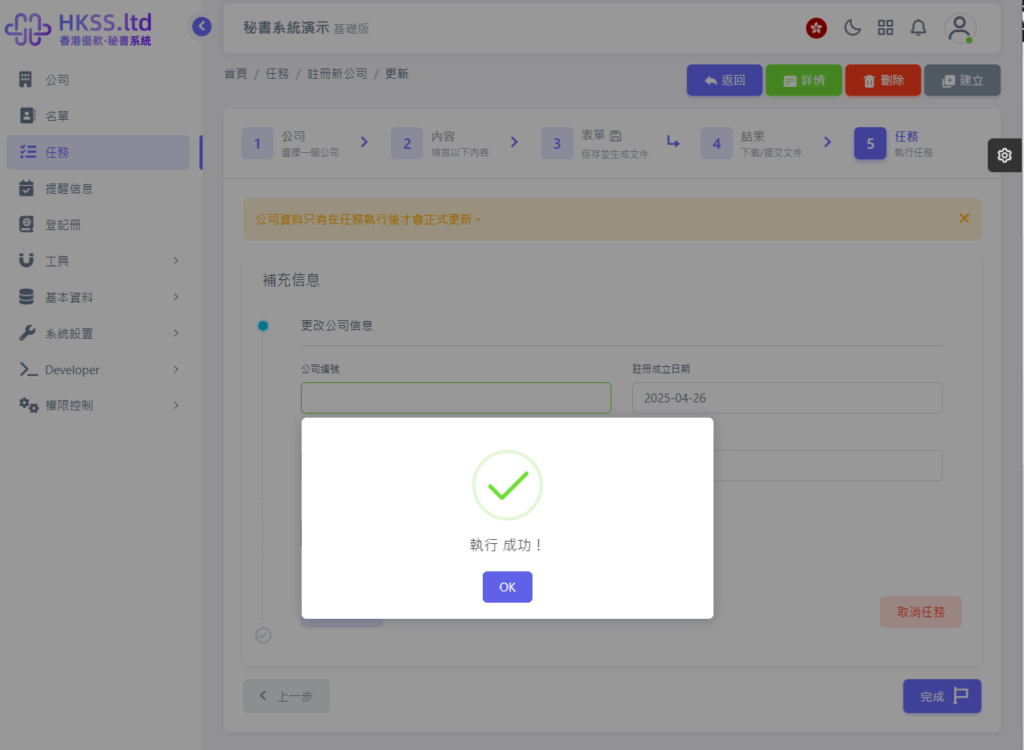
- After that, you can click "Complete" or exit the system directly.
- Finally, an "Executed" record will appear in the task list.
Please follow the on-screen instructions in this section.